Apple Pie Snickerdoodles

I was super excited to participate again this year in the Great Food Blogger Cookie Swap which raises money for Cookies for Kids’ Cancer.  Food bloggers sign up and get assigned three other food bloggers to send cookies to.  This year I sent cookies to Ashley at Memoirs from My Kitchen, Claire at Simply Sweet Justice and Renee from Tortillas and Honey.   More on who I received cookies from later…

First, on to the recipe!

Apple Pie Snickerdoodles | Shake Bake and Party

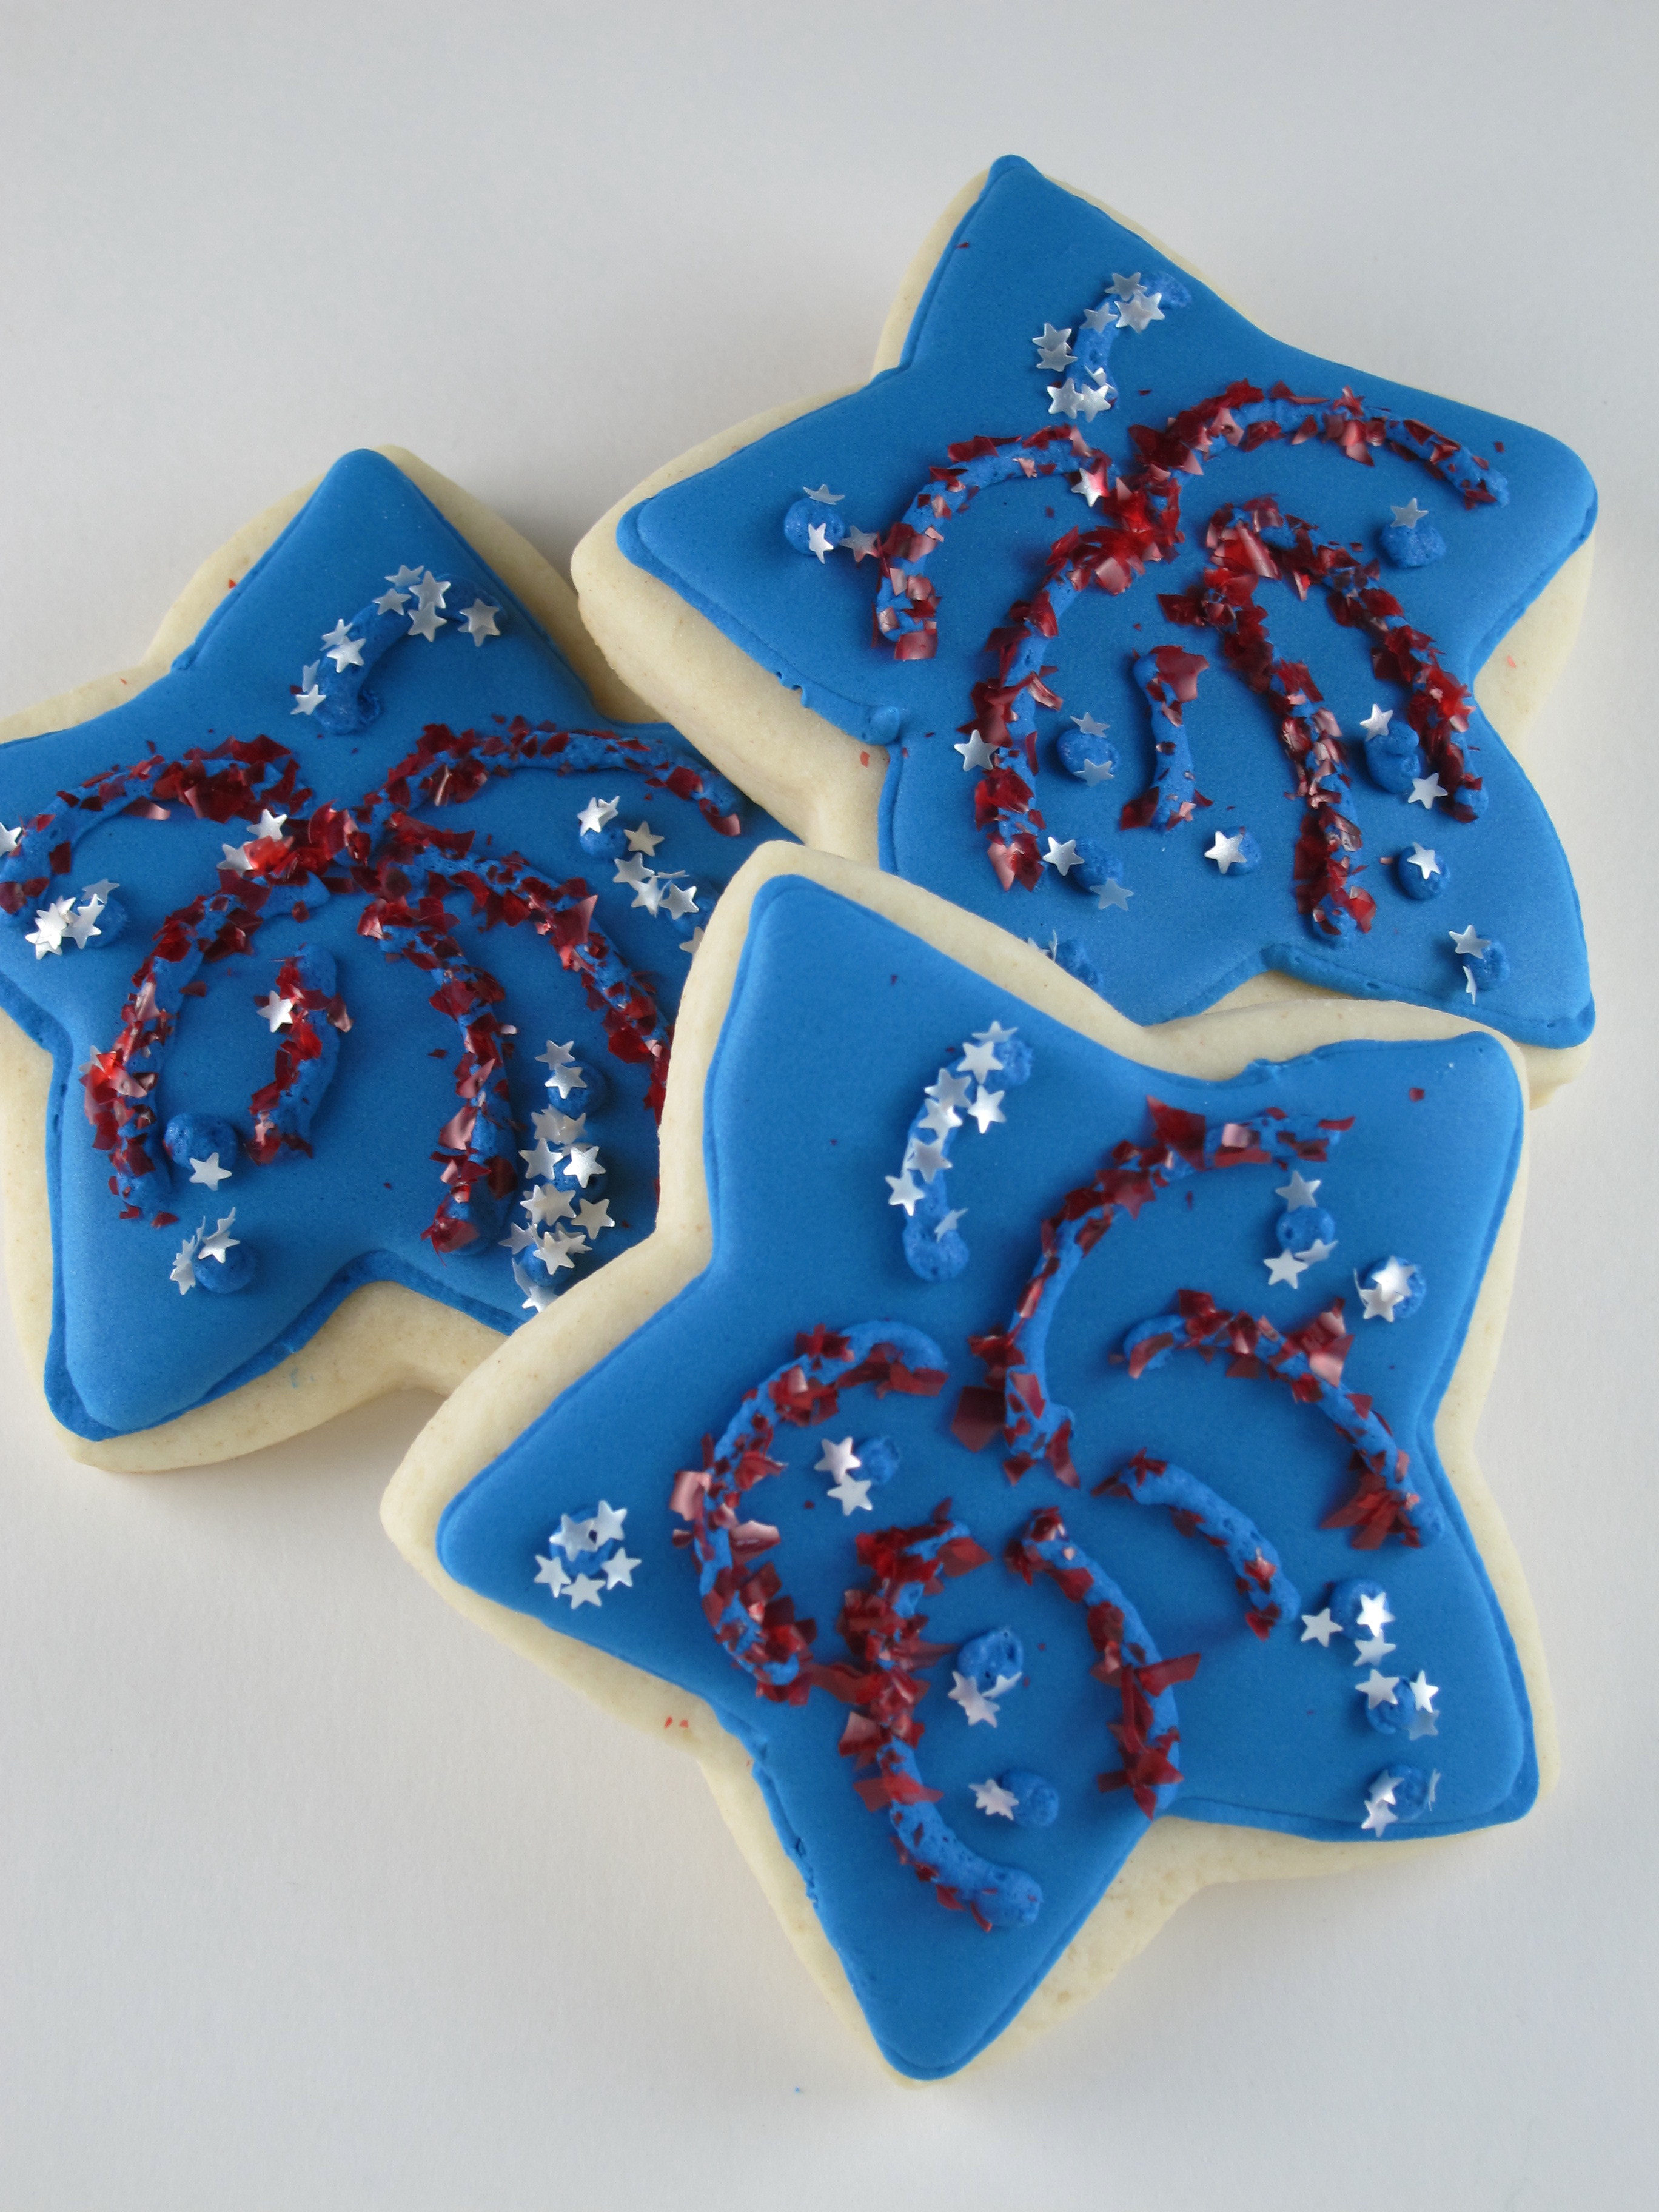
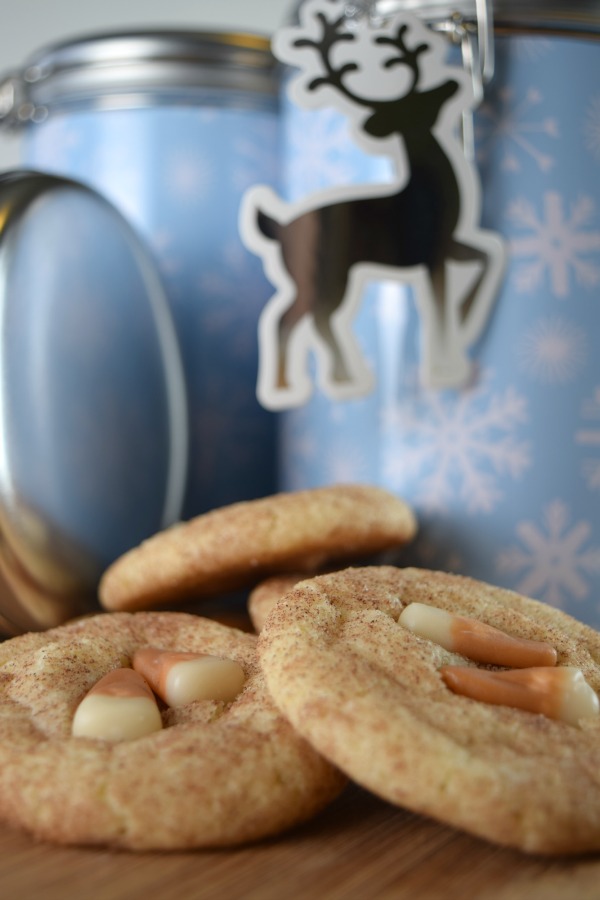
I love snickerdoodles, and when I tried Apple Pie Candy Corn from Brach’s® around Halloween I knew I wanted to combine the candy with that quintessential cinnamon cookie.  I know it’s no longer candy corn season but I just checked and as of right now you can still buy a bag on Amazon.  So if you do want to give these a try you don’t have to wait until next fall!

You can use any snickerdoodle recipe that you like.  I happened to have a few bags of Betty Crocker® Snickerdoodle Cookie Mix hanging out in my pantry so that is what I used.  Easy and delicious!

Apple Pie Snickerdoodles

Ingredients

Ingredients and measurements will vary depending on what recipe you use for the snickerdoodles.  The following instructions are for use with the Betty Crocker® Mix:

1 bag of the cookie mix which contains a packet of cinnamon sugar
1 stick of butter (1/2 cup), melted
1 egg
1 tablespoon of water

In addition to the ingredients to make the cookie dough you will need 1 bag of Brach’s® Apple Pie Candy Corn

Directions

1. Preheat oven to 350 degrees F (350 degrees F for a dark or nonstick cookie sheet).
2.  Pour the cinnamon sugar from the packet into a small bowl.
3. Combine the ingredients needed to make the dough in a medium bowl until a soft dough forms.
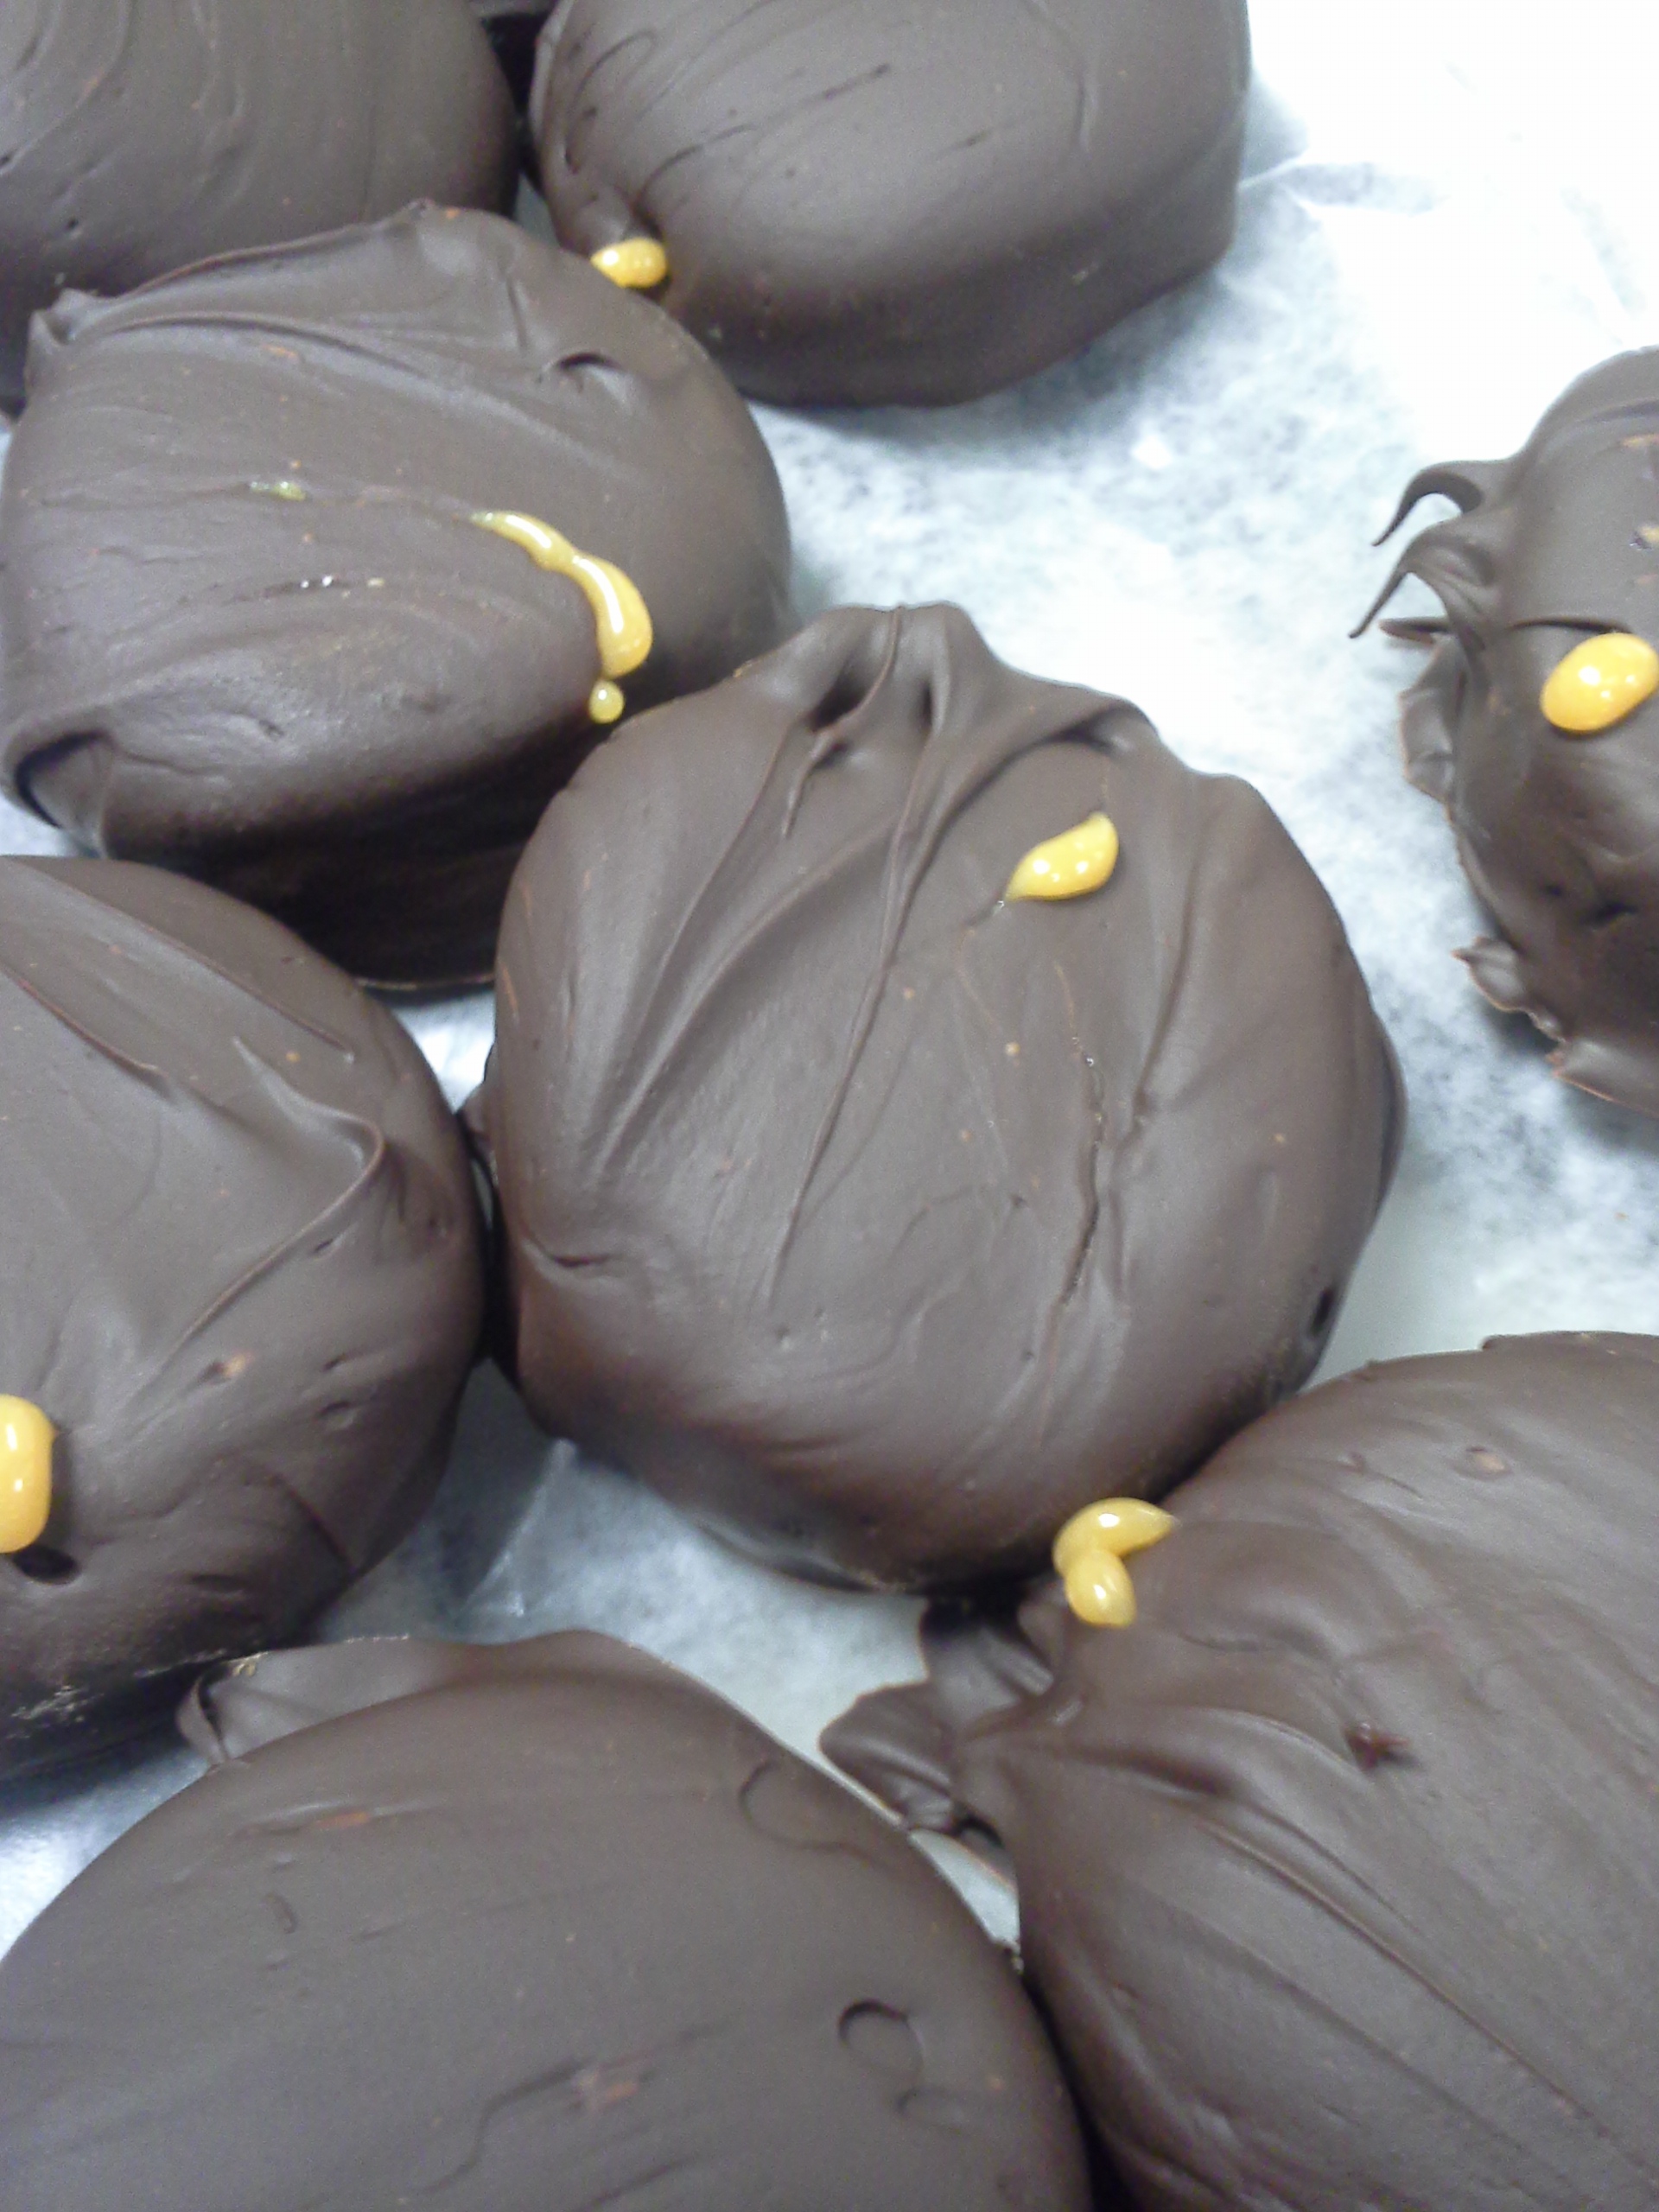
4. Take about 1 teaspoon of dough and press one piece of candy corn into it.  Cover with a bit more dough, making a ball around the piece of candy corn.  Make sure no part of the candy corn is poking out through the dough.
5. Roll the ball of cookie dough in the cinnamon sugar until coated.
6. Place dough 2 inches apart on an ungreased cookie sheet.
7. Bake for 8-10 minutes or until edges are set.
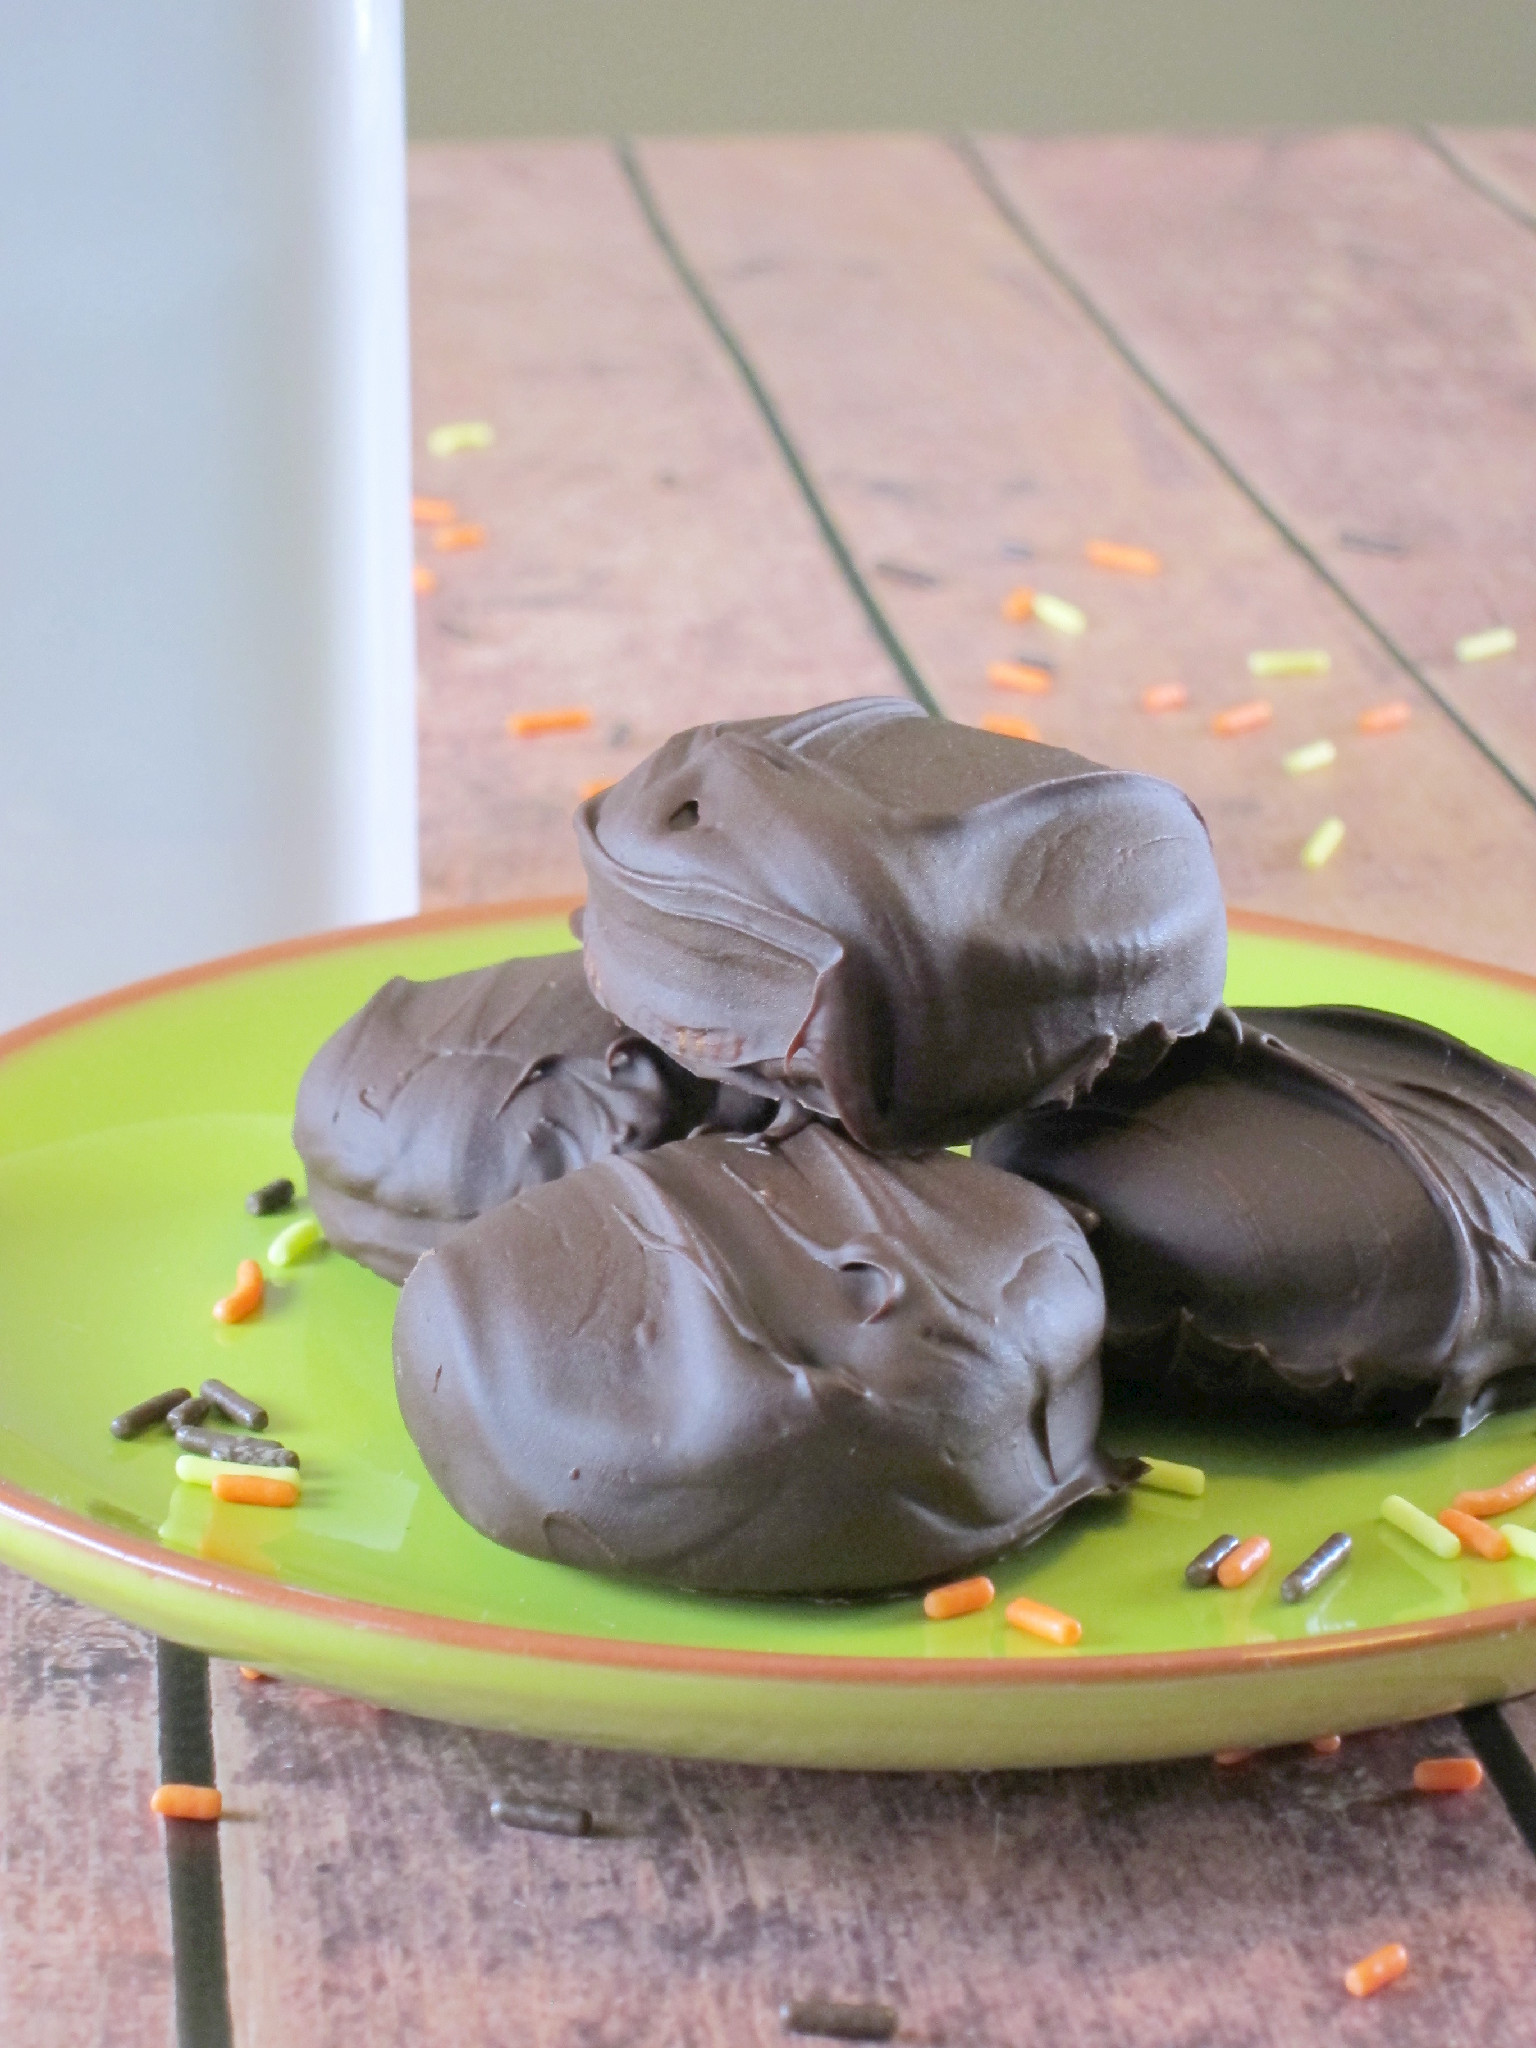
8. Remove from oven and press another 2 pieces of candy corn into the top of each cookie.
9. Place cookies back in oven for 1-2 minutes, just long enough to soften the candy corn so it will stick to the cookies.
10. Remove and let cool for 2 minutes before transferring the cookies to a wire rack.

This will make 2 dozen cookies.  Store in an airtight container.

Again, the ingredients and instructions here are if you are using the cookie mix.  If you are using a different recipe please follow the baking instructions for that recipe, just adding one or two minutes back in the oven after placing the candy corn on top.

You could skip inserting the candy corn into the center of the cookie but I wouldn’t!  It melts inside, infusing the cookie with a delightful apple pie flavor!

Apple Pie Snickerdoodles | Shake Bake and Party

I received three FANTASTIC batches of cookies from some awesome bloggers.  The first batch was Chocolate Chip Hazelnut Snowball Cookies from Marcie at Flavor the Moments.  I love that she added chocolate chips to the traditional snowball cookie!

Chocolate Chip Hazelnut Snowball Cookies

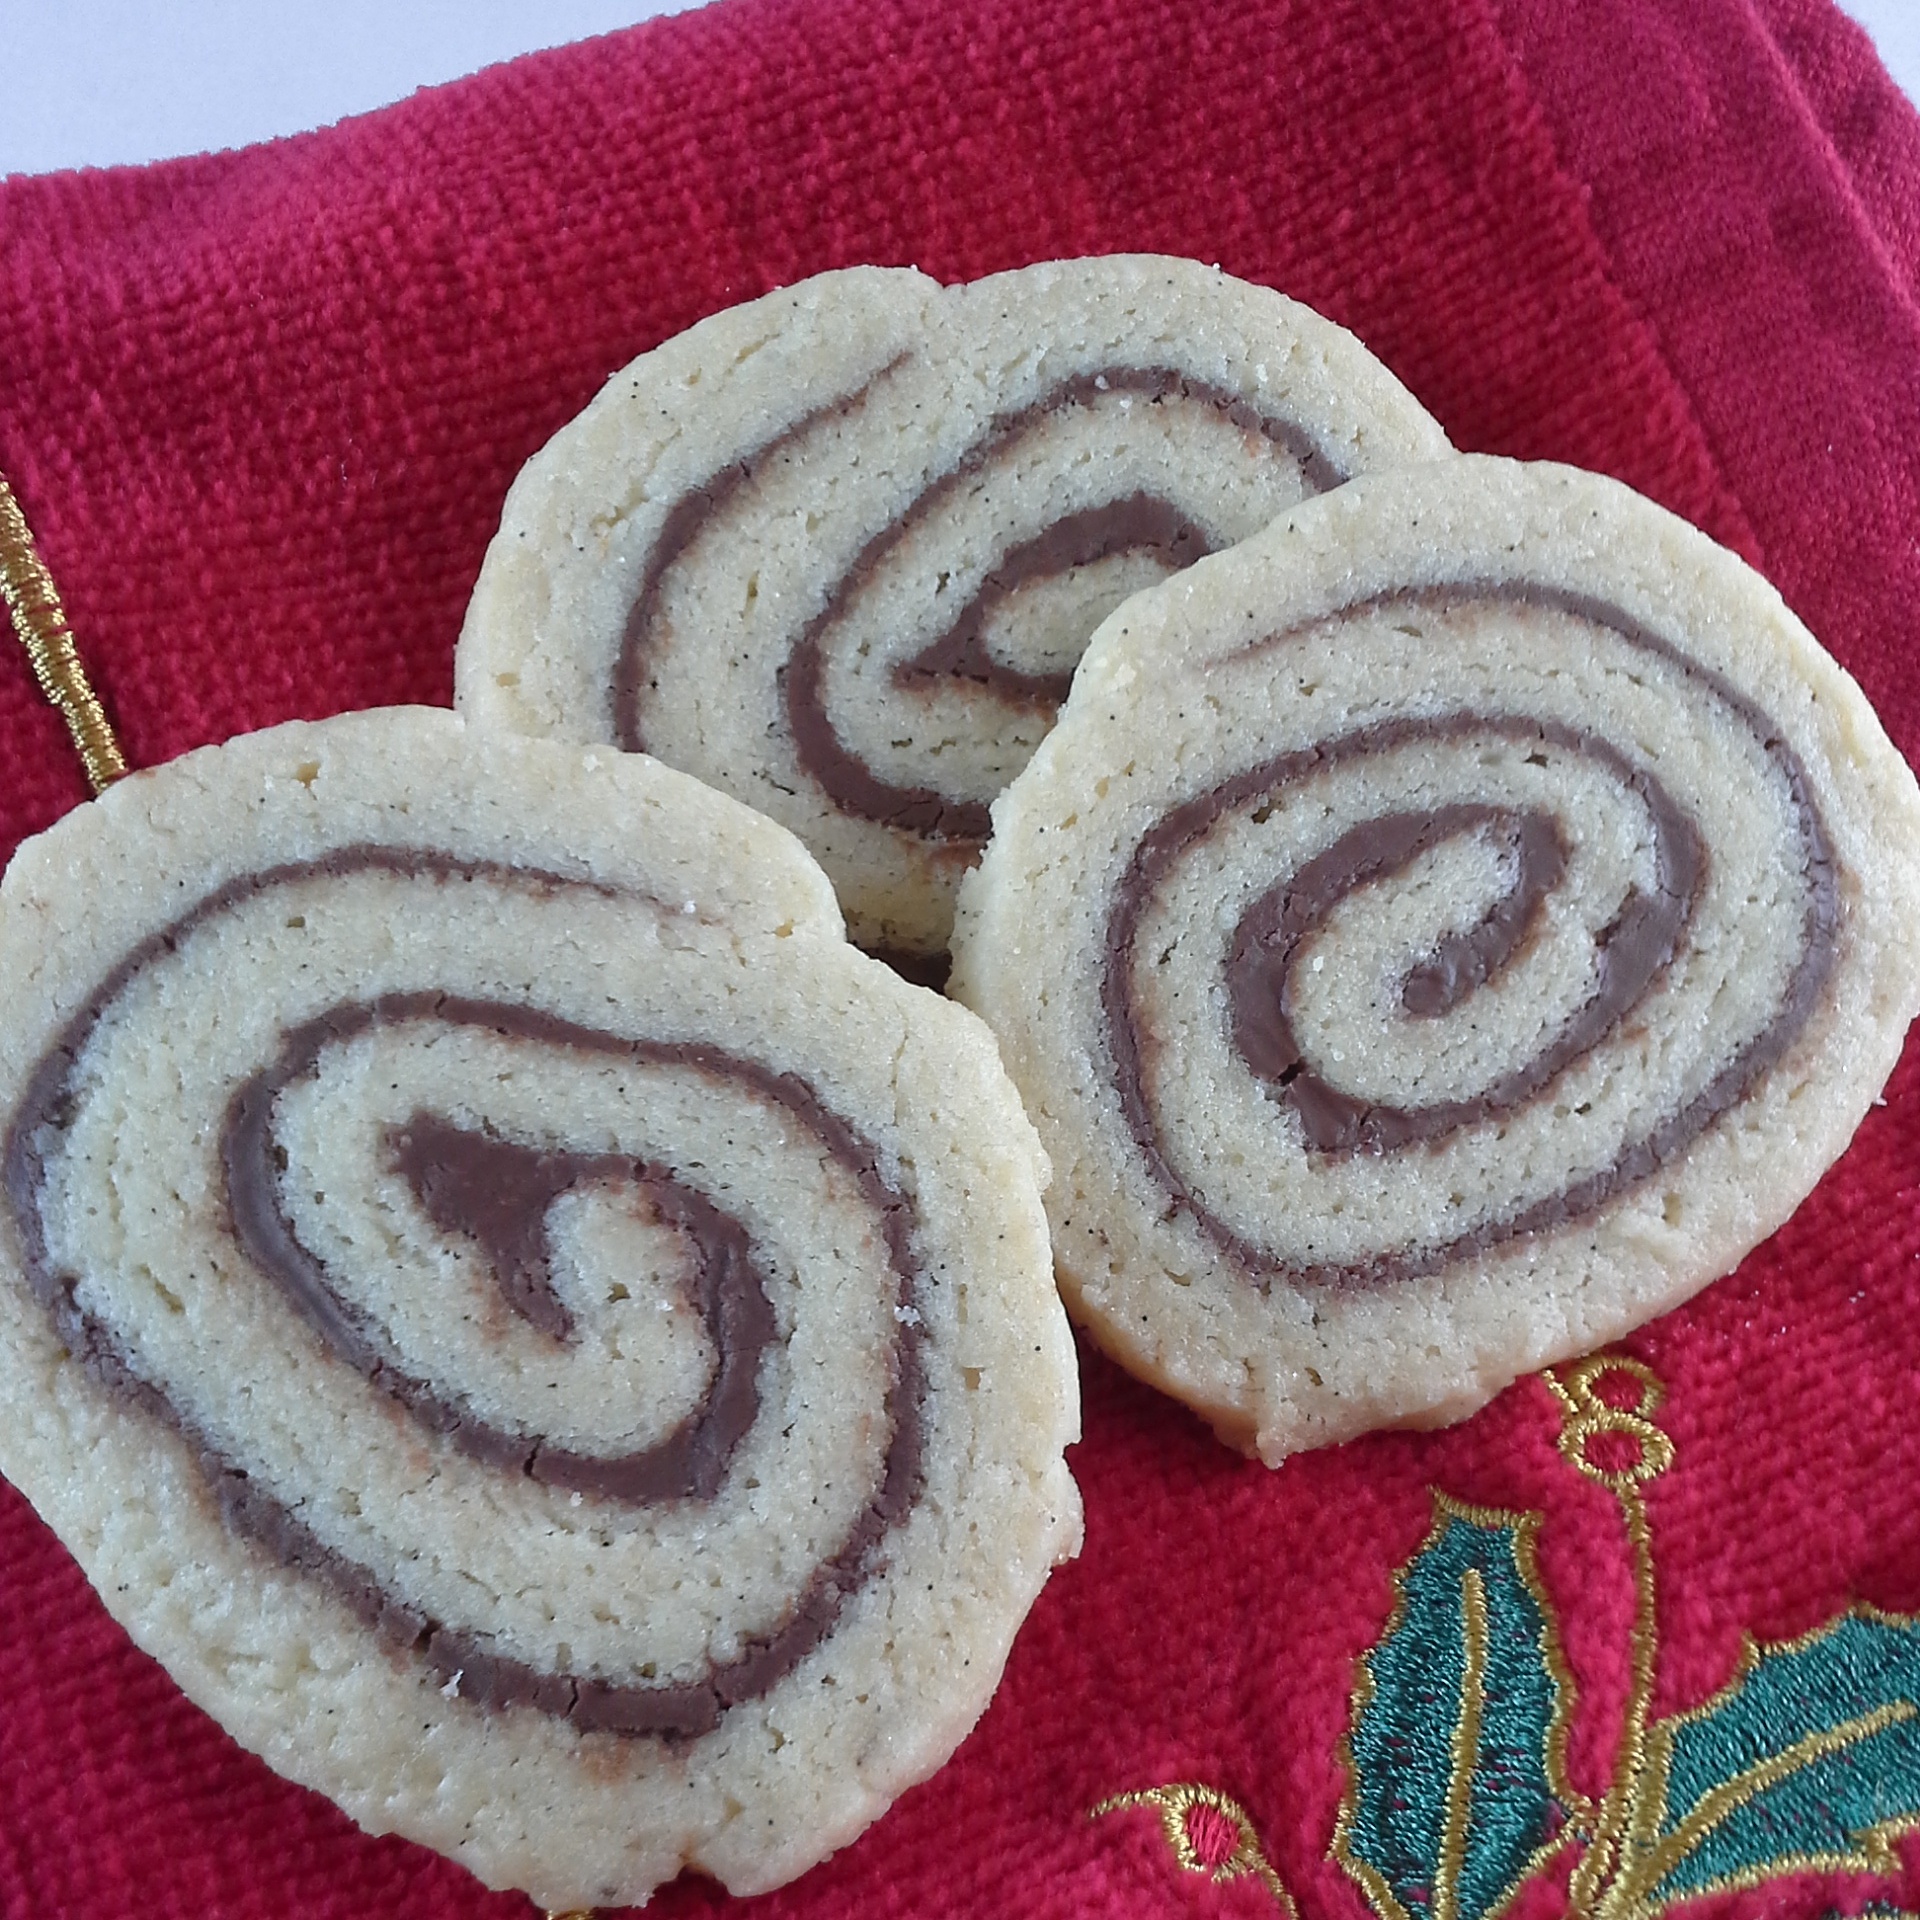
Next came Browned Butter Nutella® Slice-n-Bake Cookies from Sara at Cake Over Steak.  Nutella® makes everything awesome and these cookies were no exception!

Browned Butter Nutella Slice-n-Bake Cookies

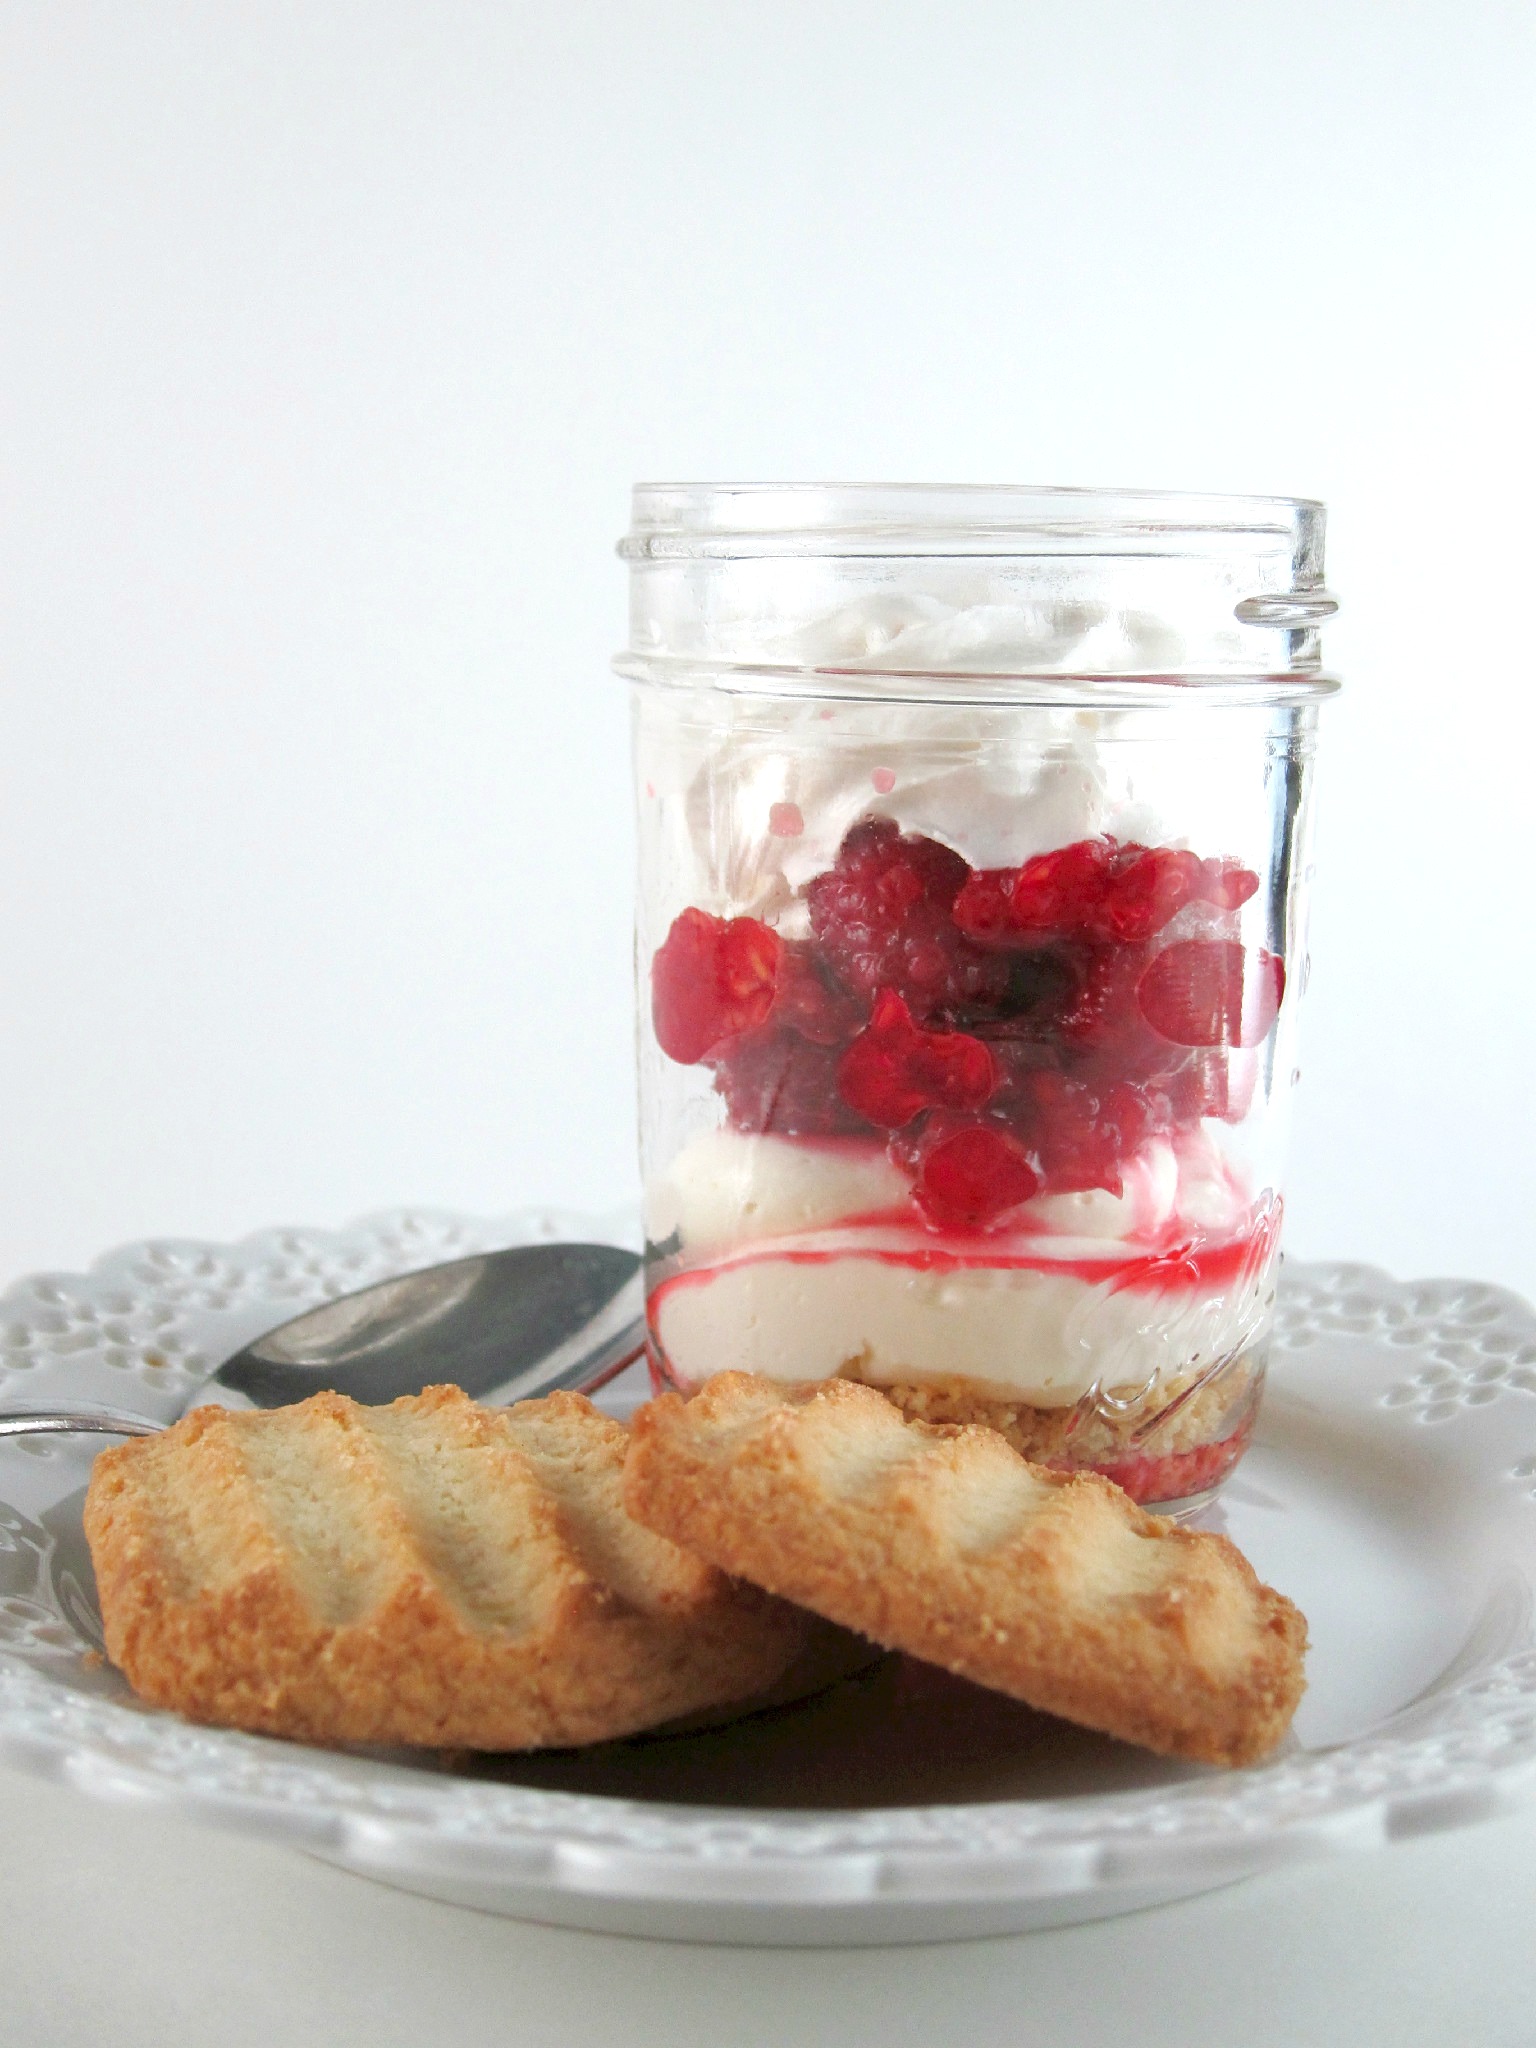
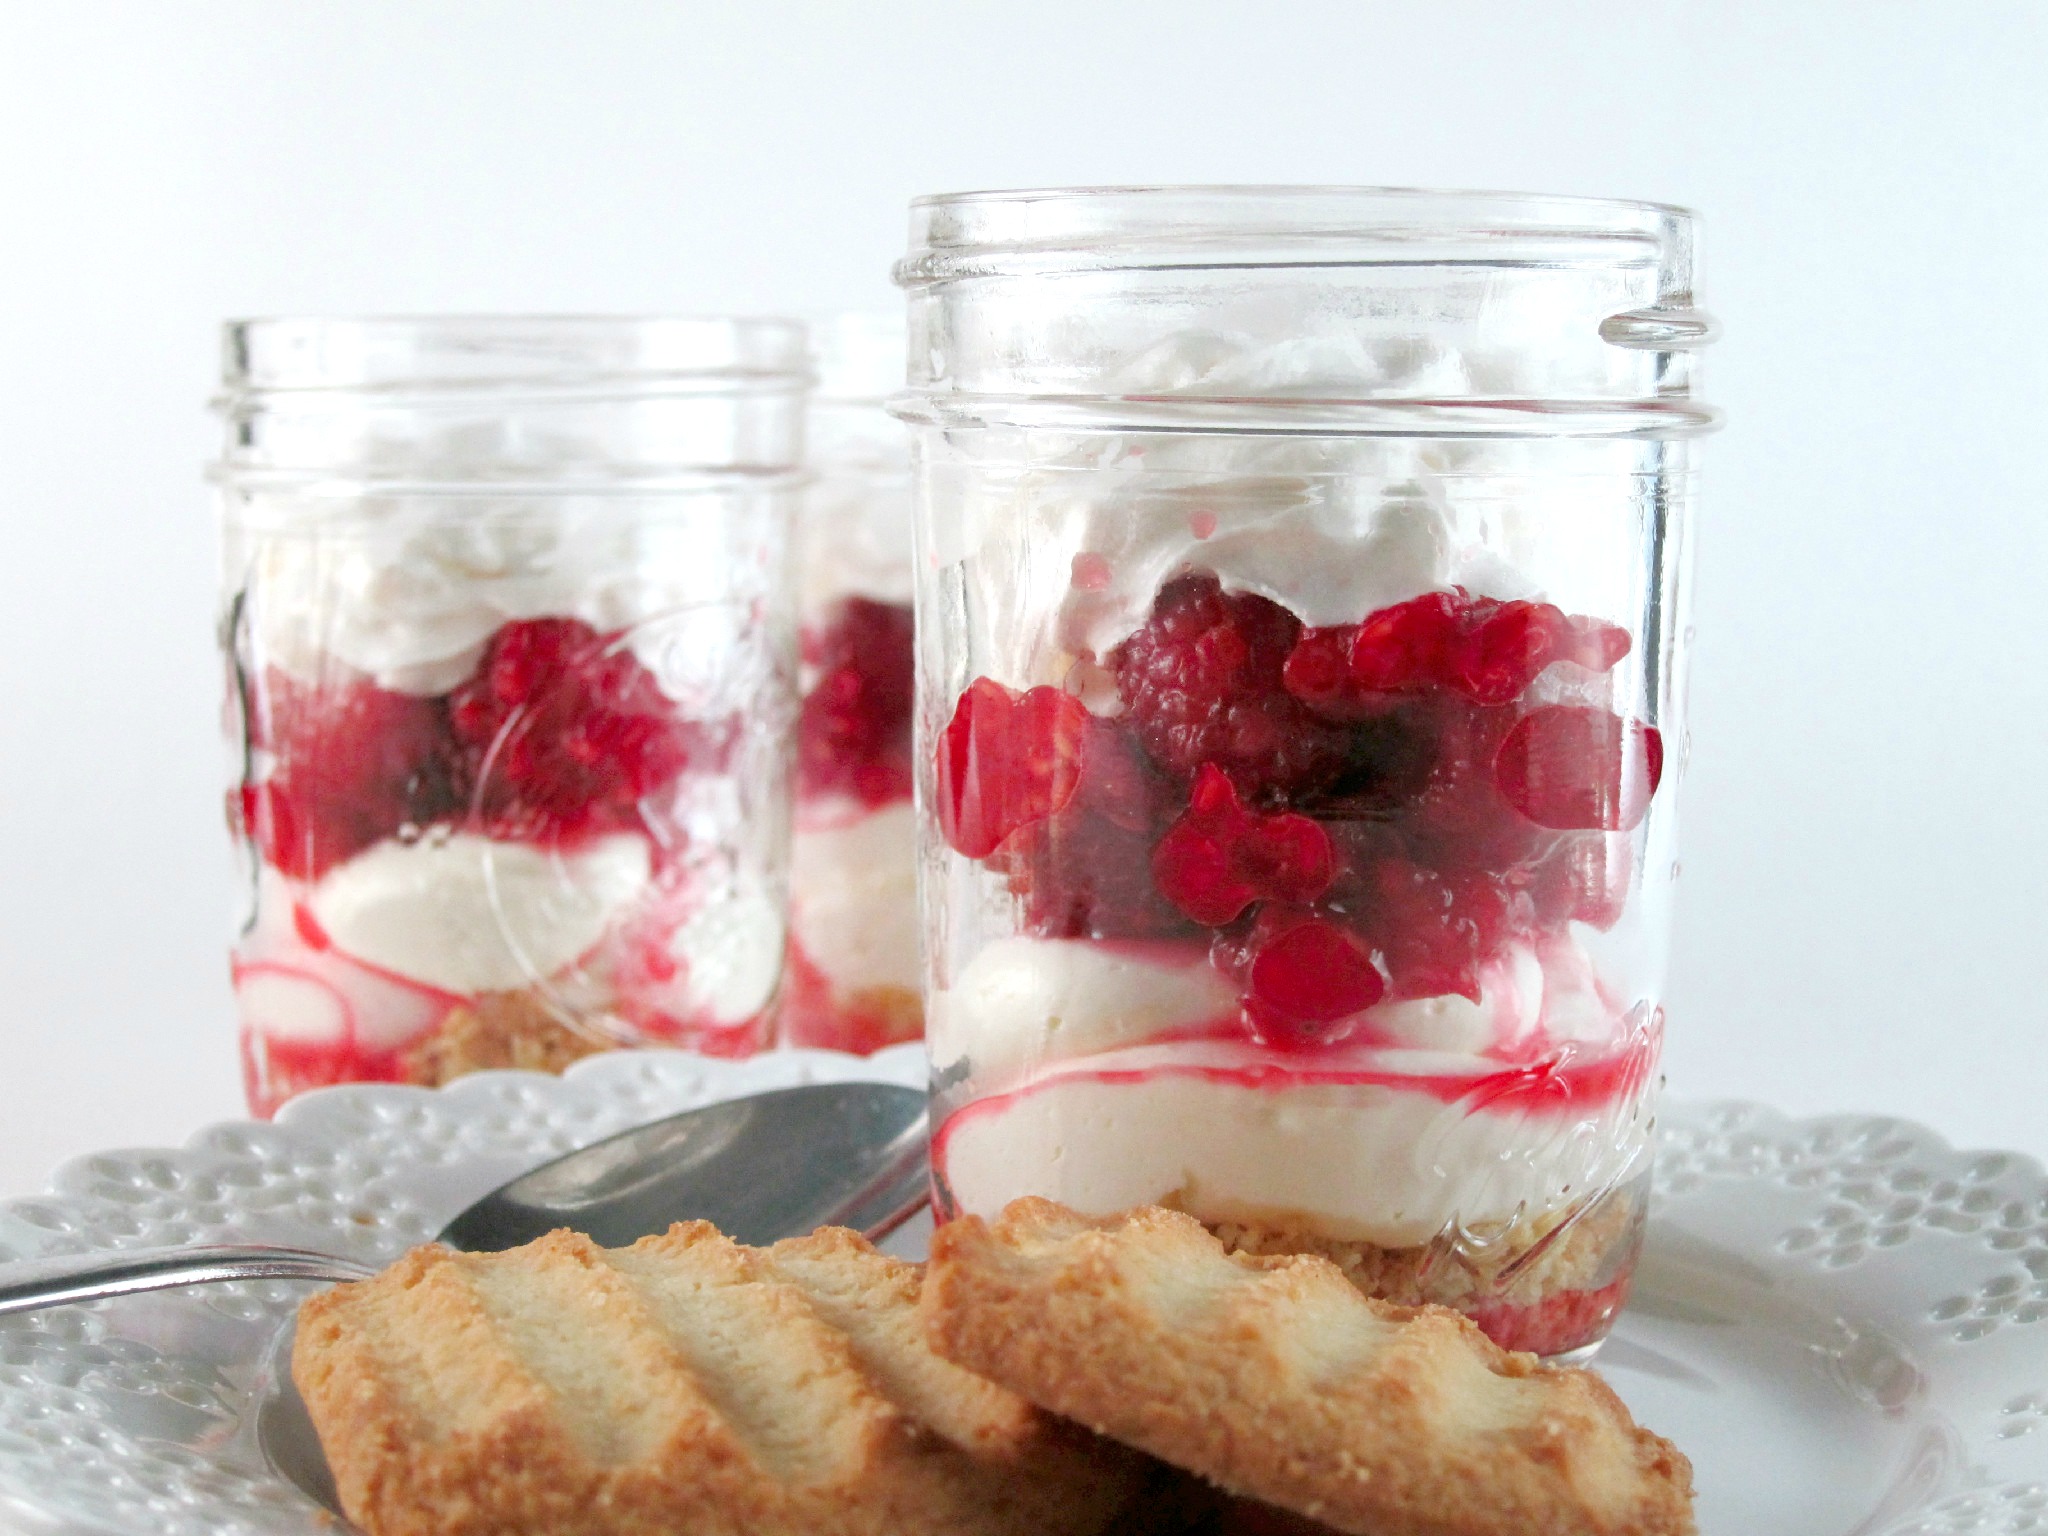
My last batch of cookies was from Maurita at Get the Good Stuff.  She sent Ginger Shortbread Rounds.  I LOVE shortbread cookies, and the addition of chewy bits of ginger took these over the top!

Ginger Shortbread Rounds

I have to say now that the swap is finished, it’s pretty depressing coming home every day from work knowing that there is no chance there will be a box of tasty cookies on my doorstep.  If any of you out there are feeling generous and want to just randomly send me cookies, let me know so I can give you my address!  😉

Special thanks to Julie from The Little Kitchen and Lindsay from Love and Olive Oil who are the masterminds behind the Great Food Blogger Cookie Swap!  Thanks for all your hard work ladies!  Can’t wait to do it again next year!

The Great Food Blogger Cookie Swap

Advertisement

Cookie Postcards

I recently participated in another Operation Cookie Takeover mission.  If you don’t know what OCT is all about you should check out their Facebook page!  The quick rundown though is this – people nominate deployed soldiers to receive cookies from the volunteers who have signed up to bake and send them.  Volunteers have shipped over 37,000 cookies to deployed soldiers since 2013!

This was the fourth mission and my fourth time participating.  It was also, by far, my favorite experience.

My idea for this round of cookies was to create a cookie “postcard” – a handwritten, edible note of thanks.  I have been seeing a lot of cookie decorators using the stamping technique to embellish their cookies and thought this would be the perfect opportunity to give it a try.  I used a rectangular cookie cutter to make my postcards and covered them in a layer of white royal icing.  Then I picked up a few postage related stamps from the craft store, read this tutorial on cookie stamping from Fancy Flours and went to town.

Cookie Stamping
It’s always best to practice first… : )

After trying out a few stamps I decided I liked the postmark one the best, so I stamped each of my postcard cookies with it.  Because my cookies weren’t perfectly flat, sometimes the stamp didn’t lay the ink down evenly in all spots but I figured that was okay – most postmarks aren’t completely uniform so I’m calling it “authentic.”  I let the ink dry overnight and then packed the cookies up and took them into work the next day for the fun part!

Cookie Signing Station

Along with my cookies I brought in a few sets of edible ink markers and set up a cookie signing station in an empty cubicle.  I invited all my coworkers to stop by and write a note to the troops on one of the cookies.

Here are a few of them:

Cookie Postcard

Cookie Postcard

Cookie Postcard

And here are all 24 together!

Cookie Postcards for the Troops

Thanks to the help of all my awesome friends at work these turned out so much better than I imagined.  I was so excited to ship these off to the Marine that I was matched up with.  I hope they all made it in one piece!

3rd Annual Go Bo! Foundation Bake Sale

Fall is seriously THE best time of year. In addition to all the usual favorites (cooler weather, apple cider, gorgeous fall foliage, pumpkin EVERYTHING…) it is also the time for fun things such as my birthday (next week!), Halloween, signups for The Great Food Blogger Cookie Swap and the Go Bo! Foundation Bake Sale!

Go Bo Foundation Bake Sale

This amazing bake sale is put together by Jill from Jill FCS Funky Cookie Studio to support the Go Bo! Foundation’s mission of funding cancer research and helping the families of children with cancer in Door County, WI.  This year cookie artists from ALL 50 states AND 17 countries have donated their time and efforts to this worthy cause.  If you are in the area you should definitely go check it out! Don’t worry though if you can’t attend because you could seriously spend hours scrolling through the Go Bo! Foundation Bake Sale Facebook page looking at all the fabulous contributions.  There are some seriously talented cookie decorators out there!

This year Jill asked that in addition to whatever themed cookies we wanted to make we also send at least one butterfly cookie.  So here are the cookies I shipped out to WI last week:

Black Cat/Full Moon Halloween Cookie | Shake Bake and Party

Butterfly Decorated Cookie | Shake Bake and Party

                                                                 “You only live once so make it count.” – Bo

If you would like more information or would like to donate, please visit www.gobofoundation.org.


Chocolate Dipped Double Caramel Apple Oreos

I have a problem with Nabisco and all these new Oreo flavors they keep coming out with.  Cookie dough, banana split, Reese’s, fruit punch… Don’t they know I have a hard enough time not eating an entire package of regular Oreos?!  I managed to survive the summer without going completely hog wild but then they had to go and make caramel apple flavored Oreos.

CARAMEL. APPLE. OREOS.

I love caramel apple.  Please enter exhibits A, B and C into evidence:

A. The BEST freaking drink I have ever made – the Caramel Apple Pie Cocktail.
B. Super yummy and super easy Caramel Apple Cheesecake Cookies.
C. My “disgustingly good” Pumpkin Caramel Apple Magic Bars.

I started seeing these new fall flavored Oreos all over Instagram about two weeks ago.  I heard they would be available at “select” Target stores.  I had to have them.  I couldn’t find them.

So I did what any normal person would do in such a situation.  Last Friday, I asked all my coworkers before we went home to look for them if they ended up at a Target over the weekend.  That is how I scored a package.  Then they popped up in my Target so I bought two more.

I tried one and they were pretty good but they weren’t quite caramel-y enough for me.  I mentioned this to a very wise friend who immediately suggested dipping them in caramel (thanks Greg!).  I loved the idea but was worried about the stickiness factor so I decided that not only would I cover the cookies in caramel, I would also cover them in chocolate!

                                              Caramel Covered Oreos

Chocolate Dipped Oreos

You’re welcome.

Chocolate Dipped Double Caramel Apple Oreos - An easy fall treat from Shake Bake and Party

These were really easy to make!  They took me about an hour and a half start to finish – no baking necessary! – and they were a HUGE hit at work.  I love it when you get such a big payoff for minimal effort!

Chocolate Dipped Double Caramel Apple Oreos

Ingredients

2 packages of Caramel Apple Oreos
1 (14 oz) package of caramels, unwrapped
2 Tbsp water
2 (12 oz) packages of semi-sweet chocolate chips (melting chocolate or chocolate bars would also work)

Directions

1. Line two baking sheets with wax paper and lay out 3 dozen of the Caramel Apple Oreos.

2. Melt the unwrapped caramels and 2 Tbsp of water (you could also use heavy cream instead) in a saucepan over low heat, stirring constantly.

3. Spoon the melted caramel on top of the Oreos.  I just kept the caramel on the burner and worked on the counter next to it.  Keeping the caramel warm prevented it from starting to harden back up while I was working with it.  Once the Oreos are topped with the caramel put them in the refrigerator until the caramel is set – about 15 minutes.

4. While the cookies are chilling in the fridge melt the chocolate chips in a double boiler, or in the microwave.

5. After the caramel has set dip the Oreos into the melted chocolate, making sure all sides are covered.  I dropped the Oreo caramel side down into the chocolate, and using two forks made sure the sides were covered before flipping it over to cover the bottom. Lift the cookie out with one of the forks and place back on the wax paper lined cookie sheets.

6. Once all the Oreos have been dipped let them sit until the chocolate has hardened.  Store in an airtight container in a cool, dry place and they should keep for a few weeks.  Not that they will last that long!

Chocolate Dipped Double Caramel Apple Oreos - Simple yet decadent fall flavored treats!

Full disclosure: For some reason, on only some of the Oreos, the caramel oozed through the chocolate.  I’m not sure why this happened, so if you are an expert in candy making and can provide some kind of explanation or tips on preventing this, please leave me a comment!

wpid-20140911_073129.jpg

The leaky caramel didn’t really matter though because these cookies are FAN-FREAKING-TASTIC!  The caramel and chocolate combined with the golden Oreo cookie are reminiscent of a Twix bar.  Add in the caramel apple flavor of the cookie filling and you have a decadent treat inspired by the flavors of fall!

Chocolate Dipped Double Caramel Apple Oreos

Of course, after I finished making these I saw a new Instagram post with a picture of Pumpkin Spice Oreos! Oh Nabisco, why do you do these things to me?!

Oh, right.  So I can make stuff like this!!

Decadent Chocolate Dipped Double Caramel Apple Oreos from Shake Bake and Party

If you’d like to see MY picture of the Pumpkin Spice Oreos when I get my hands on them be sure to follow me on Instagram!


So, I did a detox…

Yup, me.  Queen of cupcakes and cocktails.  Eater of mac and cheese, BLTs and Reese’s PB Cup Oreos (seriously, find them).  I’m not sure what possessed me, the day before the 4th of July, to decide that I needed to do a 3 day detox.  Perhaps I was inspired by the shiny new Whole Foods that just opened about a mile away from my house.  Perhaps it was those jeans I was wearing that were a little too tight around the middle.  Regardless, I decided to use my three day weekend to declare my independence from chewing.

That Thursday I Googled “3 Day Detox” and found Dr. Oz.  He kindly provided me with a printable sheet containing all the information I would need to starve myself over the holiday weekend.   It looks like this:

4_055_3DayDetox

It seemed pretty simple, and none of the ingredients were too scary, so I printed it out and went to the store.  Their little international produce stand was so cute!  How could I not spend all my money there?!

Whole Foods

The site says you can do this detox for $16 a day.  Now, I figured if I was “detoxing” it would be best to buy all organic produce, right?  Pesticides and detox are kind of mutually exclusive.  I don’t know if Oz factored this in to his price estimate, or maybe he assumed that I would already have the required probiotics (no) and multi-vitamins (yes, but they were very expired) but I ended up spending $144 for two people (I somehow conned my boyfriend into doing this with me).  So that works out to $24 a day.

Dr. Oz 3 Day Detox Ingredients

I wasn’t worried about the price though because according to the reviews I was going to be super energized, have glowing skin and finally shake this congestion that has been bugging me – all after 3 days!  Well worth it, right?

Dr. Oz 3 Day Detox Breakfast Shake

Day 1, July 4th – The day started off well enough.  The breakfast shake was okay, and it filled me up.  For like, an hour.  By the time lunch rolled around I was starving.  The lunch shake didn’t taste bad, but had the consistency of applesauce.  It took me an hour to finish it, and then an hour later I was hungry again.  The snack shake is just a repeat of the breakfast, lunch or dinner shake.  I was already tired of smoothies.  It didn’t help that any time I stepped outside I could smell the burgers and hot dogs grilling all around the neighborhood because that’s what you do on the 4th of July, right? You BBQ.   You don’t go on a flipping juice cleanse.  Idiot.

I also discovered a serious flaw in the detox plan on this day.  I was so exhausted from hunger that I didn’t have the energy to clean up after myself.  I was quickly running out of the blenders…

Dr. Oz 3 Day Detox Mess

The dinner shake had kale in it and was completely vile.  The kale was kind of masked by the other ingredients in the lunch shake but not so for the dinner one.  Ew. Yuck. Gross.  I didn’t finish it and went to bed so hungry that I was afraid I might gnaw off my arm in my sleep.

Dr. Oz 3 Day Detox Lunch Shake

Day 2, July 5th – I wasn’t terribly hungry when I woke up, and after taking inventory of my appendages I headed to the kitchen to heat up my detox tea.  It’s just green tea with lemon.  Probably the only thing I didn’t get tired of during the detox.

Aside from being slightly less starving than I was on Day 1, the only difference was the dinner shake.  I took the kale that I had prepped ahead of time and tossed it out back for the bunnies in our yard to eat and I added baby spinach to the shake instead.  It was only slightly less gross.  I am not sure why the damn thing just refused to taste good. How can blueberries and mangoes create such a disgusting sludge? Maybe my avocado was bad or something?  I don’t know.

There was also continued grilling by my rotten neighbors, and an Instagram feed full of potato salad and s’mores.  Seriously, don’t detox over a food-centric holiday weekend unless you are some kind of masochist.

Dr. Oz 3 Day Detox Dinner Shake

Day 3, July 6th – I was surprisingly NOT hungry for most of the day.  I think my body finally realized I wasn’t going to give it a donut and gave up on the whole starving thing.  Plus, I am sure the fact that I was already completely tired of drinking these stupid shakes had something to do with it.  None of them were good enough that I would WANT to consume them every day.

I decided to make a big fritatta so I would have something relatively healthy to have for breakfast during the week ahead.  I thought it would be a good idea to caramelize onions to put in the fritatta.  It wasn’t.  They smelled SO GOOD that I almost stuck my face in the skillet, and my boyfriend came in from mowing the lawn and excitedly asked if we were having steak for dinner.  I’m not sure which one of us was more depressed when I got the dinner shake baggie out of the fridge.  However, I am proud to say that we both toughed it out and completed the 3 days.

What I think…

I never felt horrible during the detox (aside from the whole my-stomach-is-a-black-hole-about-to-implode-upon-itself thing) but I felt hungover the day after.  Maybe that was a sign it was working?  I also felt completely exhausted.  Why was I not bright-eyed and bushy-tailed?!  I did feel slightly more mentally alert I guess, but nothing like the drastic results I had been reading about.  My skin looked the same, my nose was still stuffy.  I did lose 5 pounds, but I will probably gain it all back just by looking at a bowl of pasta.  Don’t get me wrong,  I am sure it was good for my insides and I am glad that I did it, but I was a little disappointed by lack of noticeable results.  Maybe I am just too toxic to benefit from a mere 3 days of detox. Have you looked at my other blog posts? 😉

Or perhaps I shouldn’t have been expecting the same results as discussed in the reviews by all the lovely women who already eat organic all the time and do yoga and make their own laundry detergent.  I am definitely no fitness nut.  I need to lose some weight.  I like to eat things that are not good for me.  I enjoy booze.  That is why I decided to share my detox experience on my blog about cupcakes and cocktails.  I thought I wouldn’t make it past lunch on the first day but I did it!  I don’t think I would do it again…but I did it!  So if you think you might want to give something like this a try I say go for it!  If I can do it, anyone can!  And if you end up glowing, more power to you!

Oh, and by the way,  the kale is STILL in my backyard.  Even rabbits think that stuff sucks.

Have you ever done a cleanse? What was it like for you?


Star Cookies

I recently had the pleasure of making two batches of star shaped cookies for very different purposes.  The first set was purple and pink starfish for a beach themed bridal shower.

Purple and Pink Starfish Cookies | Shake Bake and Party


The second set was for Operation Cookie Takeover.  Tons of awesome people have volunteered to send over 12,000 cookies to our troops serving overseas! I am so happy for the opportunity to contribute once again to such a great cause.

Fireworks Cookies | Shake Bake and Party

Patriotic Cookies for the 4th of July | Shake Bake and Party


Simple (yet lovely!) Wedding Cupcakes

On Saturday I had the honor of supplying the cupcakes for a longtime friend’s wedding.  She loves chocolate and raspberry, and the groom loves lemon so I made chocolate cupcakes filled with raspberry jam and white cake cupcakes filled with lemon curd.  I topped both with a simple dollop of vanilla butter cream and some lavender sanding sugar.  What really made the cupcakes were the custom toppers I ordered from Michele over at Scrapsecrets.  I sent her a copy of the wedding invitation and asked that she just come up with something that matched. Her design was fantastic, as usual!

The resulting cupcake is a perfect marriage of our talents!!

Navy blue and lavender theme wedding cupcakes | Shake Bake and Party

Here is how the cupcakes were displayed at the wedding –

Rustic Wedding Cupcake Display

One sweet little lady came up to me and asked, “Are you the one that made the cupcakes?”  I confirmed that I was and she replied, “They were delicious!  Both of them!!”  I hope they were equally well received by all the other guests!

Congrats again to A & L!

No-Bake Limoncello Raspberry Cheesecakes

Is there an ingredient that you always associate with a specific recipe?  Every single time I hear or read the word “Limoncello”, I think of this Limoncello Raspberry Torte recipe that I found on the Food Network website.  I made it for a party once, and it was so delicious and so different that it really stuck with me.  I have made it a few times since then, and when I saw that the ingredient for this month’s Spiked Recipe Challenge was Limoncello I knew immediately that I wanted to do a riff on that recipe.

No Bake Limoncello Raspberry Cheesecakes | Shake Bake and Party

Participants in the Spiked Recipe Challenge have to use the month’s chosen ingredient to make anything other than a cocktail.  In this recipe the raspberries are soaked in Limoncello AND there’s a bit of it in the cheesecake filling.  I like to double dip when it comes to my booze. 😉  For the last Spiked Challenge I participate in I made a goat cheese cheesecake and I loved the tangy flavor so much that I decided to incorporate goat cheese into this recipe as well!

No Bake Limoncello Raspberry Cheesecakes | Shake Bake and Party

No-Bake Limoncello Raspberry Cheesecakes
(Raspberry topping from Claire Robinson’s Limoncello Torte and No-Bake Cheesecake filling adapted from No-Bake Raspberry Cheesecake Pots from Woman’s Day Magazine)

For Raspberry Topping:

2 pints of raspberries, divided
4 tablespoons confectioners’ sugar
4 tablespoons Limoncello

In a small bowl mix 1 pint of raspberries, the confectioners’ sugar and Limoncello and mash with a fork.  Refrigerate for 20 minutes or longer.  While this is in the refrigerator prepare the crust and cheesecake filling.

For Shortbread Crust:

1 and 1/2 cups crushed shortbread cookies
2 tablespoons butter, melted

Crush shortbread cookies in a sealed bag using a rolling pin, or in a food processor.  In a small bowl, combine the crushed cookies and melted butter.

For the Cheesecake Filling:

8 oz cream cheese, softened
8 oz goat cheese, softened
3 tablespoons granulated sugar
8 oz whipped topping, thawed
1 tablespoon Limoncello

Using an electric mixer beat cream cheese, goat cheese and sugar until smooth.  Beat in the lemon juice.  With the mixer on low, incorporate the whipped topping.

To assemble:

Fold the remaining pint of raspberries into the Limoncello Raspberry mixture, trying to keep these berries whole.  Spoon cookie crumbs into jars.  Top with cheesecake filling (I used a piping bag), raspberry topping and refrigerate for at least two hours.  Before serving add a shot of whipped cream to the top if you like (who wouldn’t?!).  This recipe made enough for me to fill 8 half pint mason jars.

If you don’t like goat cheese, you could just use 16 oz of cream cheese instead!

No Bake Limoncello Raspberry Cheesecakes | Shake Bake and Party

Many thanks to Julie from This Gal Cooks and Carrie from Frugal Foodie Mama for hosting another fun Spiked Recipe Challenge!  Make sure you visit them to check out their creations and those of all the other participants!  There are always tons of great recipes submitted during these challenges!

SPIKED2-175x175


Lemon Coconut Magic Bars

Hi all!  Is it finally starting at act like spring where you are?  I think the temperature here in NJ actually got above 60 degrees today!  Of course, it’s supposed to be all crappy and rainy today but that’s okay because I just baked a batch of sunshine last night.  🙂  Lemon cake, coconut flakes, Lemon Creme Oreos, pretty pastel White Chocolate M&M’s.  These Lemon Coconut Magic Bars look like spring and taste like summer!

Lemon Coconut Magic Bars | Shake Bake and Party


Lemon Coconut Magic Bars
Adapted from Samoa Magic Bars by The Domestic Rebel

Ingredients

1 box of lemon cake mix
1 egg
1/2 cup butter, melted
1 cup Easter White Chocolate M&M’s
1/2 cup white chocolate chips
1/2 cup coconut flakes
10 Lemon Creme Oreos
1 14 oz can sweetened condensed milk

Directions

1.  Preheat oven to 350 degrees.   Line a 13×9 inch pan with foil, spray the foil lightly with cooking spray and set aside.  (I used a metal, nonstick pan.  The baking times may vary if you use glass.)

2.  In a large bowl combine the cake mix, egg and butter until a soft dough forms.  Press the dough evenly in the bottom of the pan.  Bake for 10 minutes.

3.  While the dough is baking, roughly chop the Oreos into small pieces and measure out the M&M’s, white chocolate chips and coconut flakes.

4.  Remove the pan from the oven and pour about 3/4 of the sweetened condensed milk on top of the cake.  Next, evenly cover the cake with the chopped Oreos, white chocolate chips, coconut flakes and White Chocolate M&M’s.  Drizzle the remaining sweetened condensed milk on top.

5.  Return to the oven and bake for approximately 15 minutes.

6.  Remove from the oven.  Allow the bars to set at room temperature until cool before cutting into bars.  I stored mine overnight in a covered container in the refrigerator before taking them in to work the next day, but according to the original recipe these will keep at room temperature in an airtight container for several days.

Lemon Coconut Magic Bars | Shake Bake and Party

I’ll be honest – this might be the best (non-alcoholic) thing I’ve made to date.  The house smelled wonderful while it was baking, the lightness of the lemon and the coconut flavors keep it from being TOO sweet and I just love the colors of the M&M’s.  This would be an easy treat to make for Easter, or for the weekend, or for Monday…  You really don’t need any reason to make these bars other than the fact that they are absolutely delicious!

Lemon Coconut Magic Bars | Shake Bake and Party

Happy Friday everyone!  Hope you all have a great weekend!

Mounds Cake Mix Cookies

It’s been a while since I shared any cake mix cookies with you, hasn’t it?  Never fear though, I whipped up a batch that is perfect for Easter!  I found Mounds flavored pudding at the store a few weeks ago; chocolate and coconut – one of my favorite flavor combinations!  I thought that cake mix cookies made with the Mounds pudding would go wonderfully with the Coconut M&M’s I couldn’t resist when I was at Target last week!

Mounds Cake Mix Cookies | Shake Bake and Party


Mounds Cake Mix Cookies
(adapted from Funfetti Cheesecake Cookies by Kitchen Meets Girl)

Ingredients

1 box white cake mix
1 box Mounds instant pudding mix
1/2 cup vegetable oil
2 eggs
1/3 cup spring colored sprinkles
Coconut M&M’s

Directions

1.  Preheat oven to 350.  Line two cookie sheets with parchment paper.
2.  Combine cake mix, pudding mix, oil and eggs in a medium bowl until a dough forms.  Mix in the spring sprinkles.
3.  Roll dough into small balls and place 2 inches apart on cookie sheets.  Flatten the cookie balls slightly with your palm.
4.  Bake for 8 to 10 minutes.  Remove from oven and immediately press two (or three) coconut M&M’s into the top of each cookie. Let cool for 3 minutes before transferring to a wire rack.

Makes about 2 dozen cookies.

Mounds Cake Mix Cookies | Shake Bake and Party

These are chewy and delicious, and perfect for those of us who still want some chocolate with our spring-time treats!

Mounds Cake Mix Cookies | Shake Bake and Party